SVG Tracer: Generating “Useful” SVGs for Packaging Design
I’ve been learning about packaging design (see Box Maker) and have found there is no shortage of inspirational books filled with beautiful packaging templates.
There’s just one (major) problem with them: translating the templates to vector images that a machine can interpret is no small feat. And because many of the packages are so intricate, the cleanest way to create them is by using a machine like a vinyl cutter or laser cutter.
While Illustrator and other paid ($$) software have features like Live Trace that vectorize line art from a bitmap image, there’s an added complication with packaging diagrams: they often consist of two types of lines, 1) score lines (normally drawn as dotted or dashed lines), and 2) cut lines (solid).
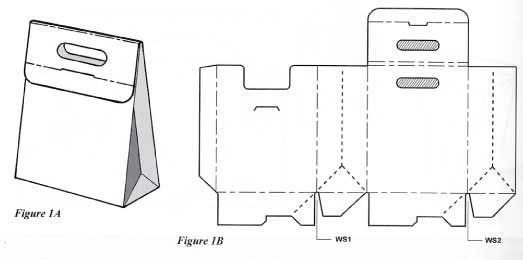
Simply applying a Live Trace to a schematic does not distinguish between these two types of lines, which is necessary when specifying to a machine which lines to score (so you can fold the material) and which lines to cut.
In an effort to enable anyone to create useful SVGs from packaging template images, I created a tool called SVG Tracer that converts a bitmap image of a packaging template into a vectorized SVG consisting of two paths: one for scoring, and one for cutting.
Here’s a quick video of the SVG Tracer interface:
In this blog post, I describe the full workflow from taking an image of a packaging template to generating an SVG using SVG Tracer to building and assembling the package in real life. Then I share how exactly the SVG Tracer app works in its current implementation and what changes can be made to improve the software in the future.
*As a caveat, I mainly tested templates from Packaging Prototypes and More Packaging Prototypes, two out-of-print books that feature hundreds of packaging templates. There’s no guarantee that SVG Tracer will work completely on other images, but I have tested it on a few found on the Internet, and it still seems to work decently well. (:
Using SVG Tracer: Step by Step Instructions
Step 1: Prepare the image
The first step is to take a photograph of a packaging template (or any crease pattern) and transfer it to a computer to clean it up a bit before uploading to SVG Tracer.
You can clean up the image for free on a Mac using Preview and its handy Instant Alpha feature.
In Preview, ensure that the Markup Toolbar is visible and click the magic wand to enable the Instant Alpha tool. Then click and drag to make a selection and hit the delete key to remove any background color. You can also use the other selection tools to more directly select artifacts from the image to remove.
In the video above, I also completely desaturate the image to ensure it’s black and white, and I increase the contrast of the image to make the lines as visible as possible. If you find that a line is not as dark as you want it to be, you can also draw new shapes in Preview and add lines manually. When you’re done, save your image as a png so it maintains a transparent background. (If your image by default is black and white, you don’t need to remove the background or save it as a PNG — just try to remove any extraneous artifacts other than the lines you want to vectorize.)
Step 2: Upload the cleaned image to SVG Tracer
Now you can go to SVG Tracer (https://svg-tracer.glitch.me/) and upload your cleaned image.
It can take some time to process (on the order of ~5–15 seconds, depending on the complexity of the image). SVG Tracer automatically scales all images to 700px width to make processing the image faster. Don’t worry — because the app exports a scalable vector image, you can always scale the output to whatever size you want later without any loss in resolution.
Once the app is done processing your image, you’ll see it appear and can click Export to save a copy of the generated SVG.
Note: Depending on the size of the score lines, sometimes SVG Tracer isn’t able to detect them, at which point your SVG will only contain a single path for cutting (rather than scoring). You can click Show Individual Paths to see how SVG Tracer is interpreting your image:
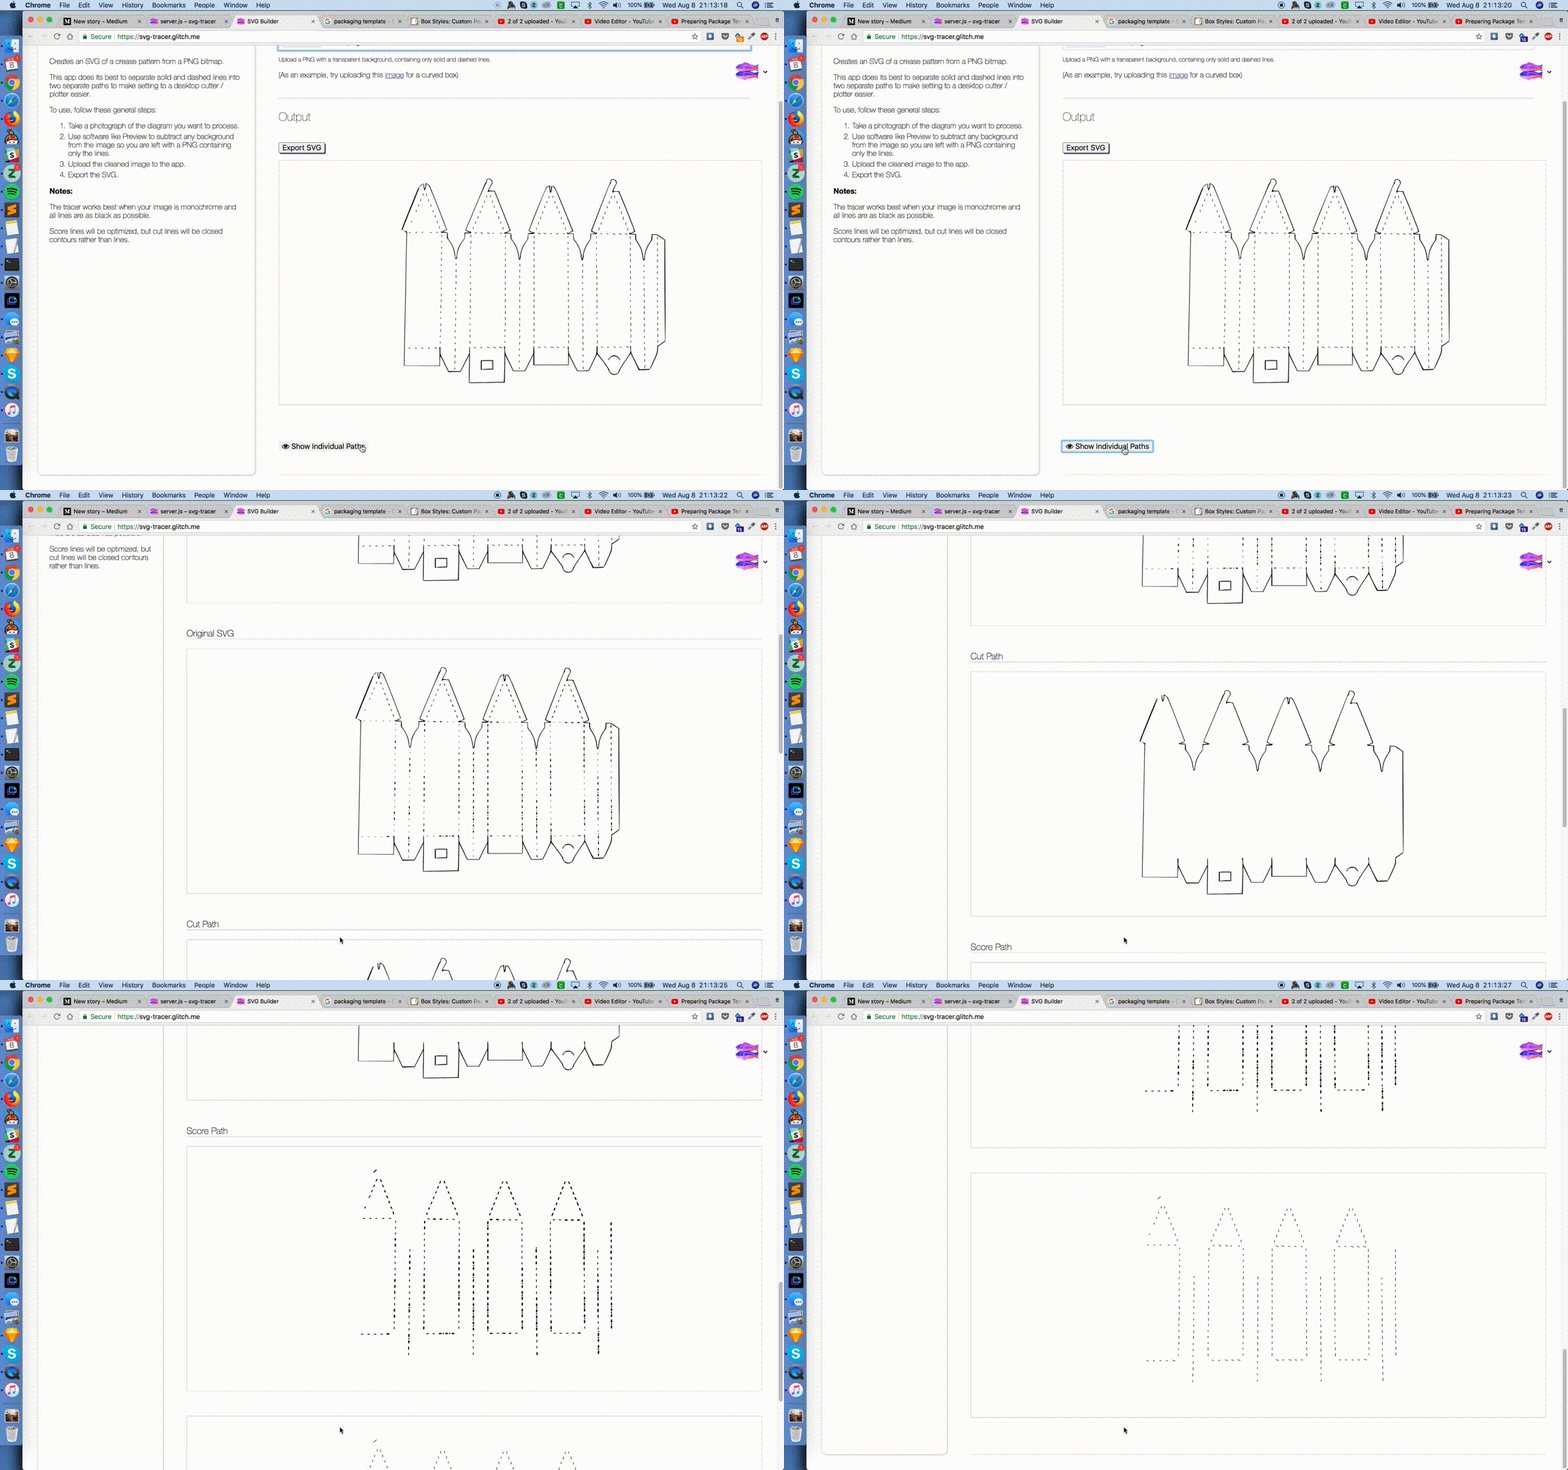
More on exactly what exactly these individual paths are in How it Works below, but to quickly summarize: If you don’t see any output in the “Score Path” section, some of the score lines may be instead interpreted as cut paths— but usually cutting the score lines won’t be an issue as the edge will be folded anyway, and the cuts would thus not be visible in your completed design.
Step 3: Send to a cutter and assemble!
Now for the fun part — cutting and making the design!
The cool thing about the exported SVG from SVG Tracer is that it separates *all* score lines into a single path and *all* cut lines into a single path. That means when you bring the SVG into software like Cricut Design Space, you can select a single SVG path to change all your score lines to score. (My #1 request with Cricut Design Space is to have a way to batch edit a selection of lines – if all score lines were individual paths, you would need to set each one to a score path manually, which is very tedious!)
Depending on what type of machine you use to cut your material, your process will be different, but I’ve shown what it’s like to send the SVG to a Cricut Explore Air 2 with a scoring tool and blade, for reference:
A note — one limitation of SVG Tracer is that it identifies the cut path as a closed contour, rather than as a single line. That means it will cut both an interior and exterior path for your package outline. The cut process is usually pretty fast, so it doesn’t add much additional time overall to the cutting process, but if you see your machine returning to outlines it’s already cut, that’s why!
After your cut is complete, fold your score lines (you should refer to the original template, which sometimes marks which lines are valley folds and which are mountain folds) and assemble!

How it Works
SVG Tracer uses the image processing library Potrace, which vectorizes bitmap images into SVGs.
I use Potrace to process the input image in a few different stages:
- An initial pass that does not distinguish between score and cut lines.
- A second pass to filter out score lines and return only the cut path.
- A third pass that takes a difference between the initial pass and second pass to return just the score lines.
- A fourth pass that simplifies score path contours into lines.
- A final compilation of the cut path from #2 and the simplified score path from #4.
During the first pass, an SVG is generated with a single path containing both the score and cut lines (shown under “Original SVG” in the Individual Paths section of SVG Tracer):

Now we need to separate the score and cut lines into separate paths. Next, I process the input image again with Potrace, this time using a parameter called turdSize (I didn’t name it…), which controls the threshold for ignoring “specks” within the image. This should remove most score lines from the image and return just the cut path (shown as the “Cut Path” in the Individual Paths section):

Next, I use Clipper.js to do perform a boolean difference between the original path and the cut path to return an SVG of just the score lines (shown as “Score Path” in the Individual Paths section):

One limitation of the Potrace library is that it generates contoured closed paths rather than executing centerline tracing. If you look closely at any of the generated paths, they are not defined by a single line but by a closed contour (i.e., little ovals):

This can be an issue especially with the score lines because there can be hundreds within a design, and it takes much longer for the machine to cut lots of little ovals rather than a series of lines.
Luckily, all the score lines by definition should be straight lines because you can’t fold a curved edge. So next, I analyze every point within the score path to determine whether I can approximate each oval, or blob, as either, 1) a vertical line, 2) a horizontal line, 3) a diagonal line, or 4) a speck (that should be ignored). This produces the final simplified score path (underneath the initial Score Path in the Individual Paths section):

Finally, the last step is to combine this simplified score path with the original cut path to generate a final SVG containing two paths: one for the score lines, and one for the cut lines. If you inspect the “Output” SVG on SVG tracer in your web browser’s inspector, you will see the two individual paths within the SVG.

Comparing Cutting Times
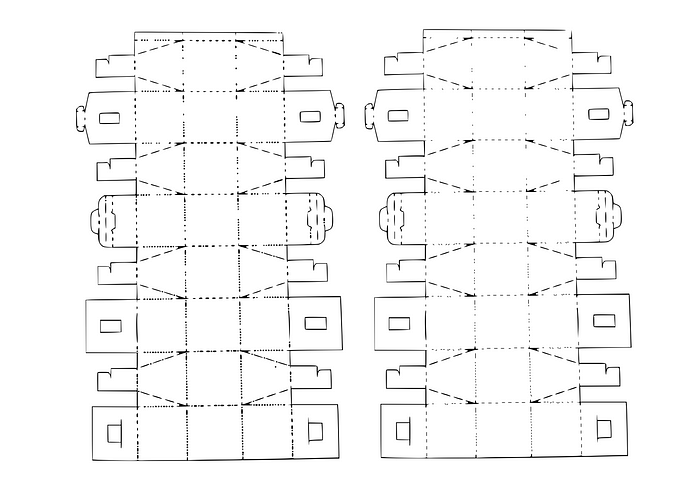
Out of curiosity, I wanted to see how much time is saved when cutting SVGs with the simplified score lines versus the default blobs created by Potrace. I tested this with three different packaging templates, each with an increasing number of score lines: an double-arced top box with 10 score lines, a trapezoidal box with 24 score lines, and a sphere containing 76 score lines:
For all three, I fed a cleaned image of a photographed diagram from the Packaging Prototypes book into SVG Tracer. I then created two different SVGs: one that contains the original output score path from Potrace, and one that contains the simplified score path that I generate.
Then, using Cricut (setting the machine to the “fast cut” mode), I timed how long it took for score paths to complete for both SVGs, for all three designs.
Here are the results:

You can see that for designs with a small number of scores line, such as the Double-Arced Top, you save a negligible amount of time using the simplified path. However, for designs with more score lines, there’s about a ~36% saving in time, which is pretty cool!
Future Work
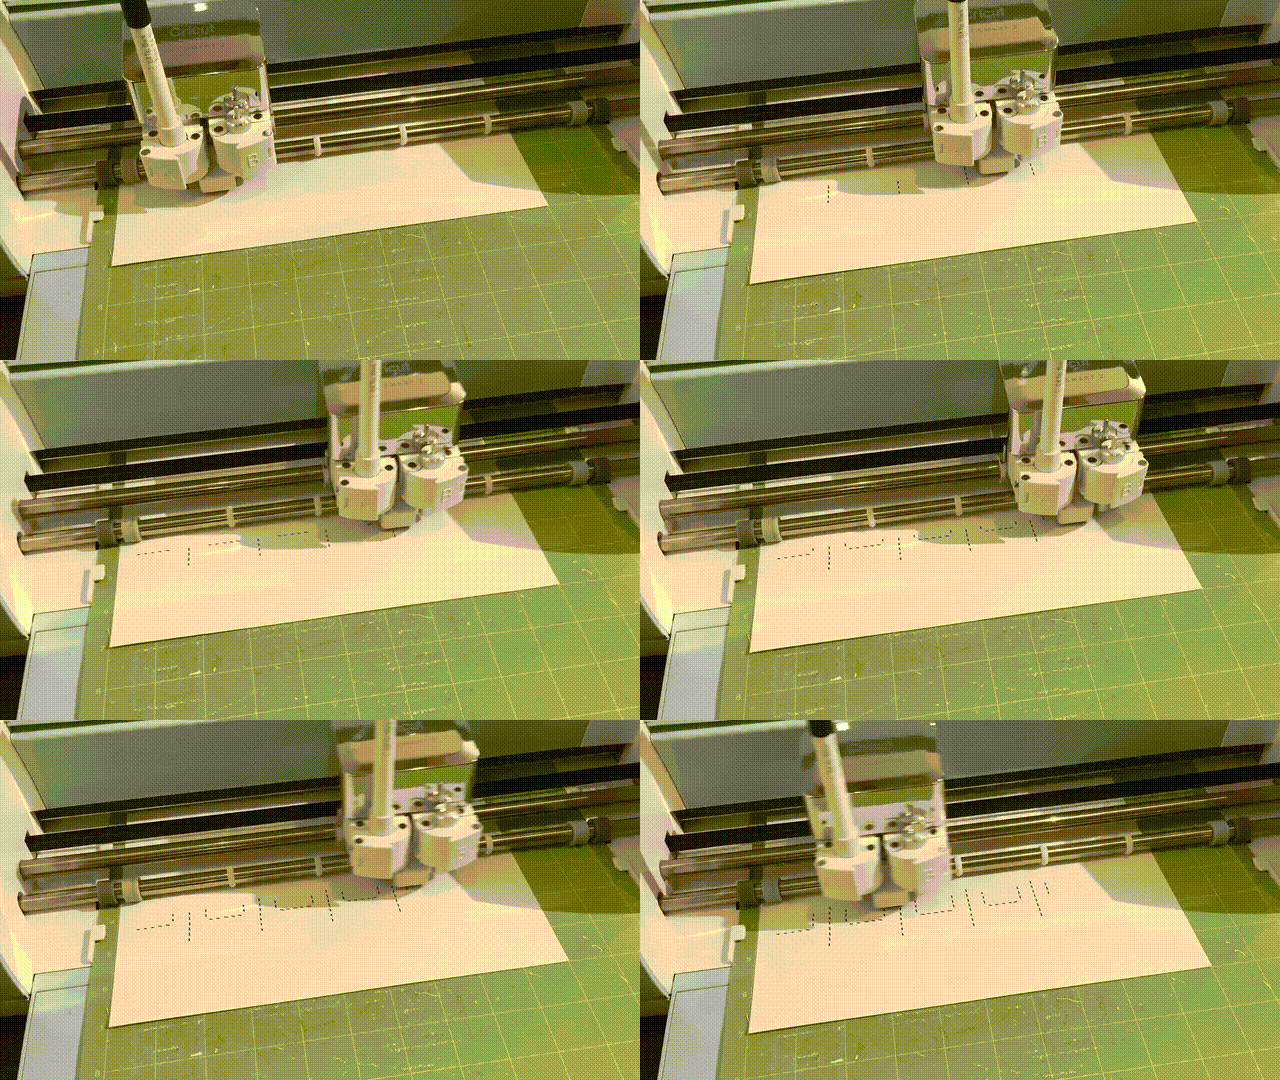
As I mentioned in How it Works, Potrace does not do centerline tracing, which is ideally what you want to do when tracing the input image. Notice how in the GIF below, the machine goes over the cut lines multiple times unnecessarily as a result:
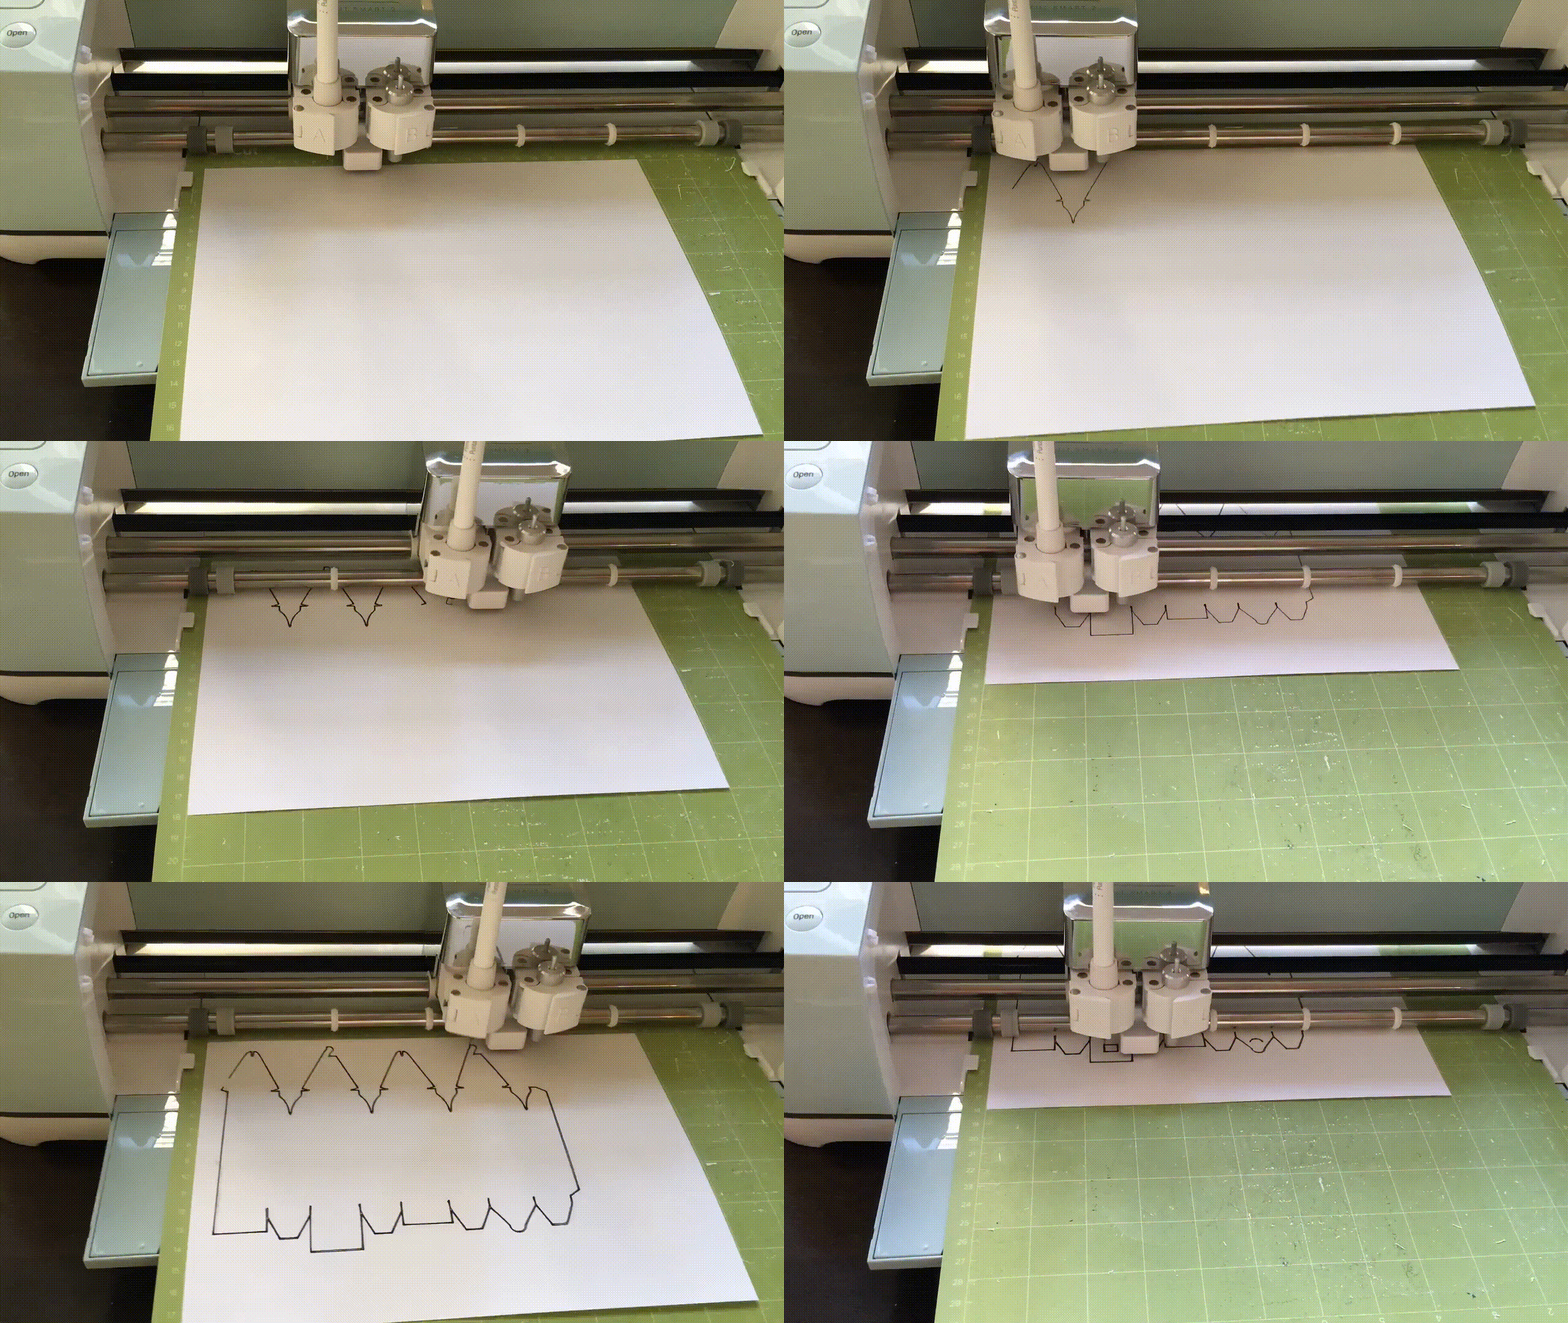
It turns out that removing the internal contour is not so easy because of the way Potrace generates the path (a combination of lines and curves that may contain gaps). So one area for future work would be to figure out how to simplify the cut path to be a single line.
In theory, the library AutoTrace should be able to perform centerline tracing, but I was unsuccessful with getting it up and running after a days worth of work. The library hasn’t been updated since 2004 and takes input formats BMP, TGA, PNM, PPM, PGM, PBM, all of which I had never even heard of with the exception of BMP, so using AutoTrace with modern image formats requires integration with ImageMagick, which I wasn’t able to figure out. But maybe you can!
A second area for work would be to optimize the score paths so they are treated as more complete lines, rather than independent mini line segments. You can see in the GIF below that the Cricut cutter operates from the bottom of the design to the top, working left to right. It would be much faster to draw the scored segments as lines, which would require detecting which dots can be connected in a single path.
Finally, I would love to share some of the diagrams from the Packaging Prototypes books directly on SVG Tracer, but after looking more into copyright law for origami crease patterns (the closest analogy I could think of to packaging templates), I don’t think it’s legal for me to share the diagrams publicly. Maybe I can email the authors of the books to see if they would be willing to have the diagrams publicly shared, especially since the books are long out of print and thus very difficult to find (thank you Strand for having a single copy of each on your shelves!). But for now, please (legally) obtain images of packaging templates and bring them into SVG Tracer to generate your own SVGs!
Because SVG Tracer is on Glitch, you can view its source and remix it directly. Try poking around and improving it!
Acknowledgments
I built SVG Tracer at Recurse with input from lots of my fellow RCers. A special thanks to Nick Hahn, Andy Chu, Julie Soper, and Kevin Jiang for all your helpful feedback!
